Contents:
Notes
Written pattern - Small Written pattern - Medium Written pattern - Large
Photo tutorial
Graph - Small Graph - Medium Graph - Large
Notes:
4mm hook with dk/8ply yarn
The arms are worked into the row before the neck.
I’m finding that easier than sewing them on afterwards, and they are centred to the side just right.
But you can sew them on if you prefer.
Approximate quantities/sizes:
Small Medium Large
15g of yarn 30g of yarn 90g yarn
5g of stuffing 15g stuffing 35g stuffing
15cm (6 inches) high 20cm (8 inches) high 28cm (11 inches) high
Written Pattern for Deedee Diddle Dum (Small)
Arms x2
1) ch9, turn and sc in second from hook and along to end . turn = 8st
2-8) ch1, 1 sc in each to end = 8st
Fasten off with a long tail for sewing
Fold in half, sew down the side and along the bottom. Stuff just a wee bit.
Legs x2
1) ch13, turn and sc in second from hook and along to end . turn = 12st
2-8) ch1, 1 sc in each to end = 12st
Fasten off first leg with a long tail for sewing.
For the second one continue:
Body
9) attaching in first leg: ch1, sc to end of second leg, and then along the top of the first leg to end = 24 st
10-17) ch1, 1 sc in each to end = 24st
18) Attaching the arms: ch1, 3sc. Over the next 4 sc also work through the first arm top as well.
Sc8 st, over the next 4 sc also work through the second arm top, sc 4 to end. = 24st
Neck
19) Ch1, dec x 11, 1sc = 13st
20) ch1, inc x 11, 1sc = 24st
Head
21) ch1, sc 4, inc,(sc5, inc)x3 = 28st
22-30) ch1, sc to end = 28st
Fasten of with long tail for sewing.
Sewing
I find it easier to first sew one leg.
Then I sew down the centre back and on down the second leg.
Stuff
Re attach yarn at stitch 7 of the last row with a slipstitch and work in sc through both layers to the end.
Hair
Make 13 lengths of yarn and tie onto each stitch of the closing row.
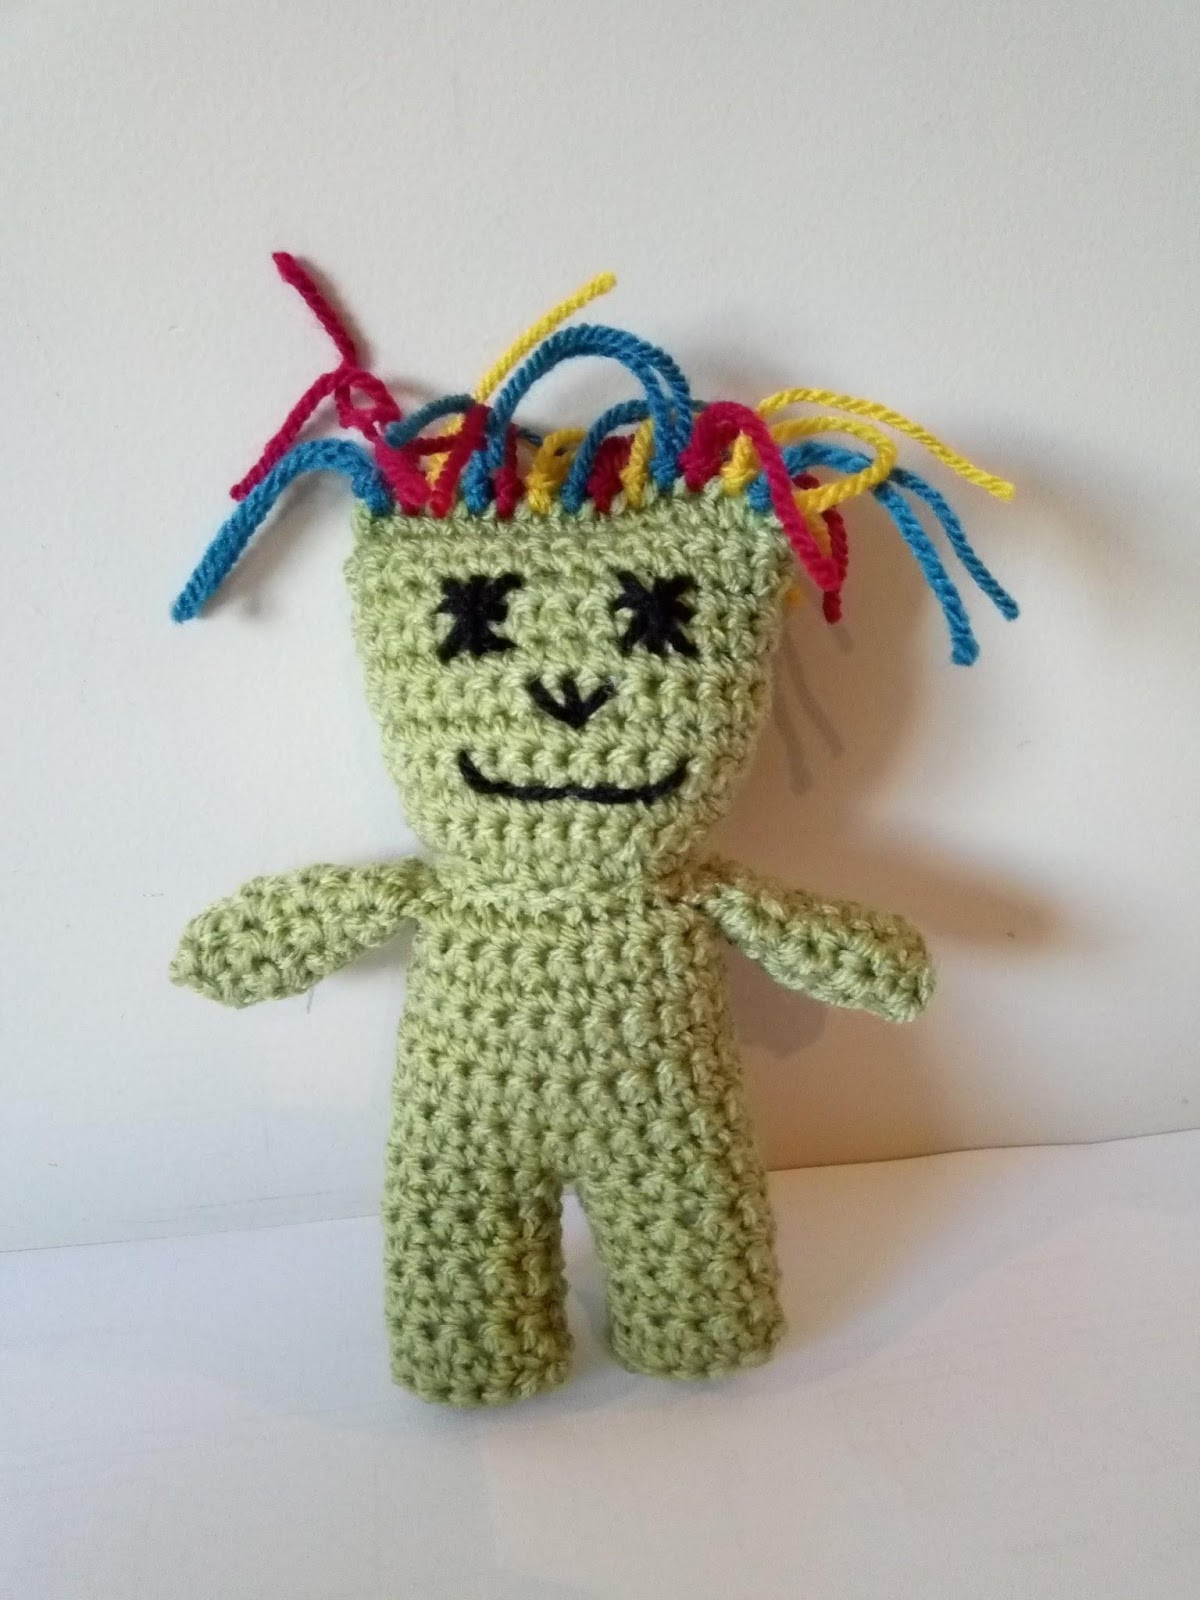
The colourful one below is about 5 inches long and the shorter black hair is about 3 inches.
Face
Use a contrasting yarn to stitch some features on.
Done!

Written Pattern for Daffy Diddle Dum (Medium)

Arms x2
1) ch13, turn and sc in second from hook and along to end . turn = 12st
2-12) ch1, 1 sc in each to end = 12st
Fasten off with a long tail for sewing
Fold in half, sew down the side and along the bottom.
Stuff just a wee bit.
Legs x2
1) ch19, turn and sc in second from hook and along to end . turn = 18st
2-12) ch1, 1 sc in each to end = 18st
Fasten off first leg with a long tail for sewing.
For the second one continue:
Body
13) attaching in first leg: ch1, sc to end of second leg, and then along the top of the first leg to end = 36 st
14-26) ch1, 1 sc in each to end = 36st
27) Attaching the arms: ch1, 5sc. Over the next 6sc also work through the first arm top as well.
Sc12 st, over the next 6sc also work through the second arm top, sc 6 to end. = 36st
Neck
28) Ch1, dec x 17, 1sc = 19st
29) ch1, inc x 17, 1sc = 36st
Head
30) ch1, sc 4, inc,(sc5, inc)x5 = 42st
31-44) ch1, sc to end = 42st
Fasten of with long tail for sewing.
Sewing
I find it easier to first sew one leg.
Then I sew down the centre back and on down the second leg.
Stuff
Re attach yarn at stitch 11 of the last row with a slipstitch and work in sc through both layers to the end.
Hair
Make 22 lengths of yarn about 3- 5 inches long and tie onto each stitch of the closing row.
Face
Use a contrasting yarn to stitch some features on.
Done!


Flat hair, or spikey cool hair!

Or no hair at all.
Written Pattern for Dappa Diddle Dum (Large)

Arms x2
1) ch17, turn and sc in second from hook and along to end . turn = 16st
2-16) ch1, 1 sc in each to end = 16st
Fasten off with a long tail for sewing
Fold in half, sew down the side and along the bottom.
Stuff just a wee bit.
Legs x2
1) ch25, turn and sc in second from hook and along to end . turn = 24st
2-16) ch1, 1 sc in each to end = 1sst
Fasten off first leg with a long tail for sewing.
For the second one continue:
Body
17) attaching in first leg: ch1, sc to end of second leg, and then along the top of the first leg to end = 48 st
18-35) ch1, 1 sc in each to end = 48st
36) Attaching the arms: ch1, 7sc. Over the next 8sc also work through the first arm top as well.
Sc16st, over the next 8sc also work through the second arm top, sc 8 to end. = 48st
Neck
37) Ch1, dec x 23, 1sc = 25st
38) Ch1, inc x 23, 1sc = 48st
Head
39) ch1, sc 4, inc,(sc5, inc)x7 = 56st
40-60) ch1, sc to end = 56st
Fasten of with long tail for sewing.
Sewing
I find it easier to first sew one leg.
Then I sew down the centre back and on down the second leg.
Stuff
Re attach yarn at stitch 14 of the last row with a slipstitch and work in sc through both layers to the end.
Hair
Make 26 lengths of yarn about 3- 5 inches long and tie onto each stitch of the closing row.
Face
Use a contrasting yarn to stitch some features on.
Done!


Mr Stripey! Sitting in a bowl to get weighed- cute!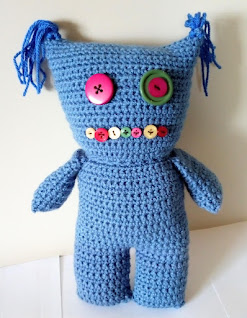
Mr or Miss Not-so-cute!
Photo tutorial for the small doll.
The other sizes are constructed in the same way.

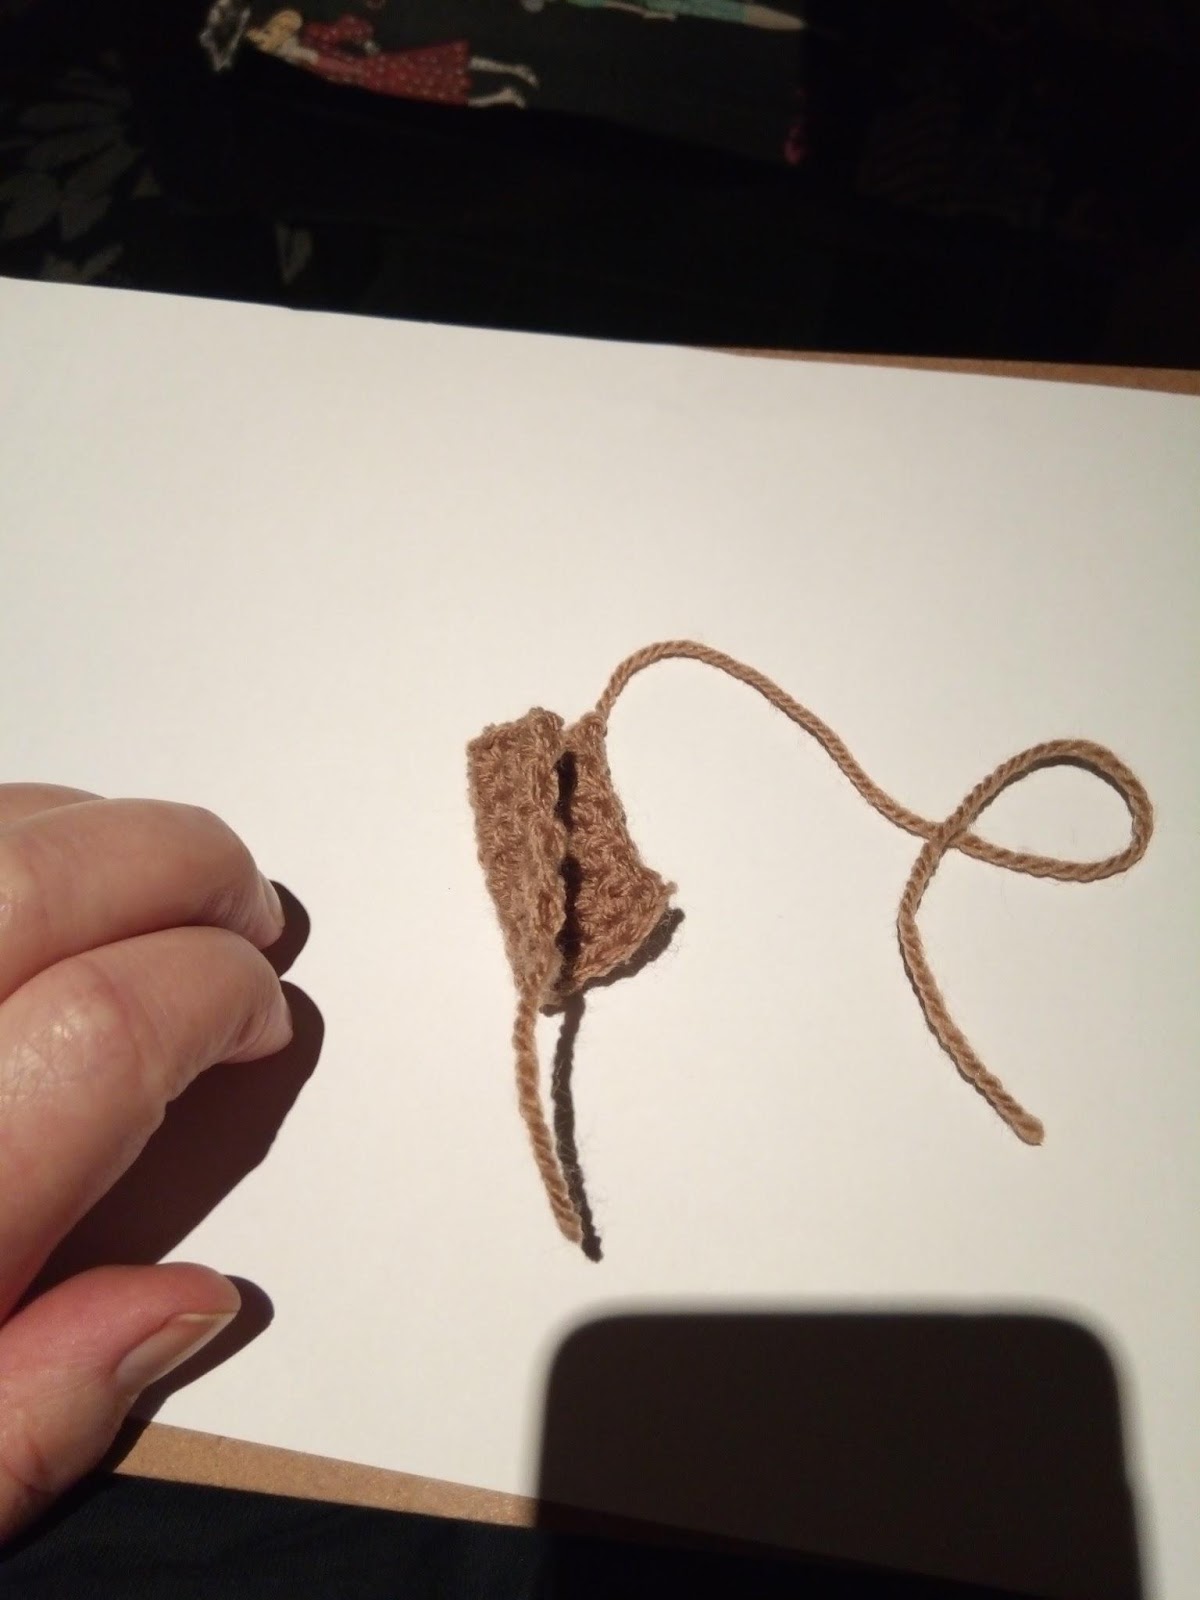

2 Arms: 8st x 8rows square fold in half sew down side and
across the bottom

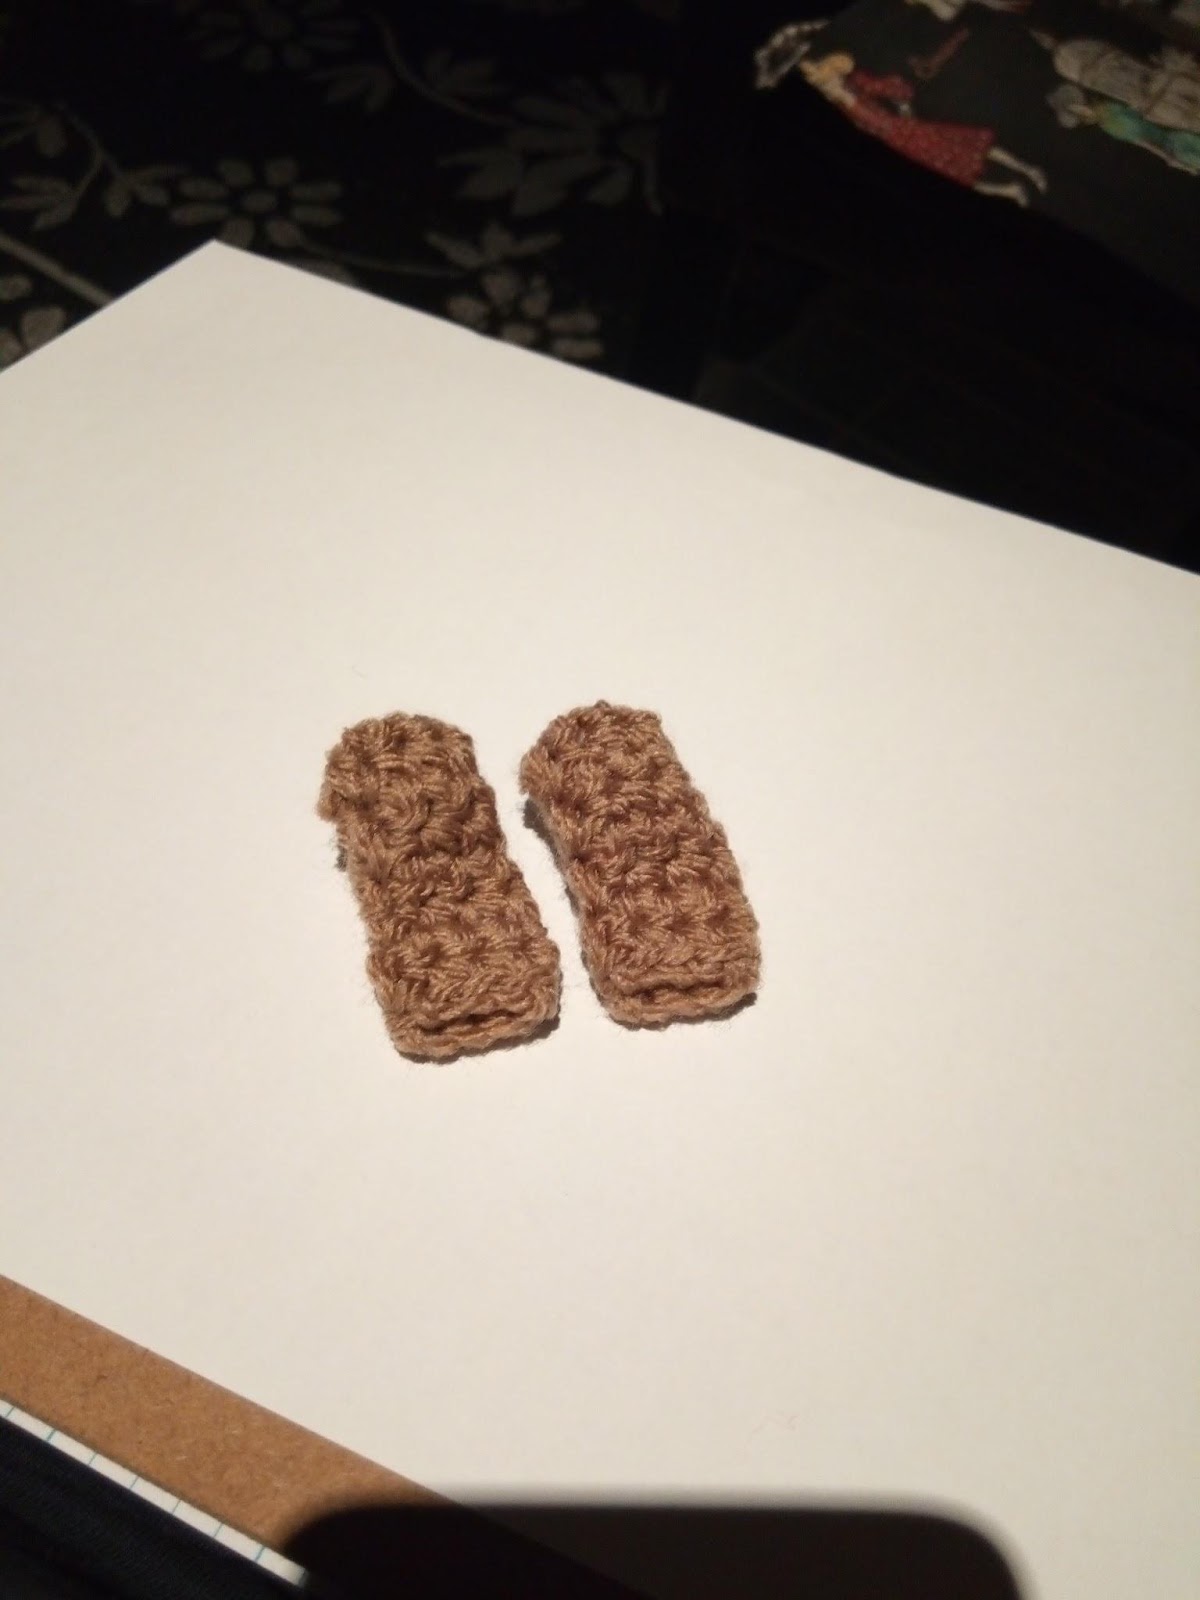
Wee bit of stuffing in each 2 arms done.

Leg 1: 12st x 8 rows Leg 2: 12st x 8 rows
Fastened off with tail Not fastened off…
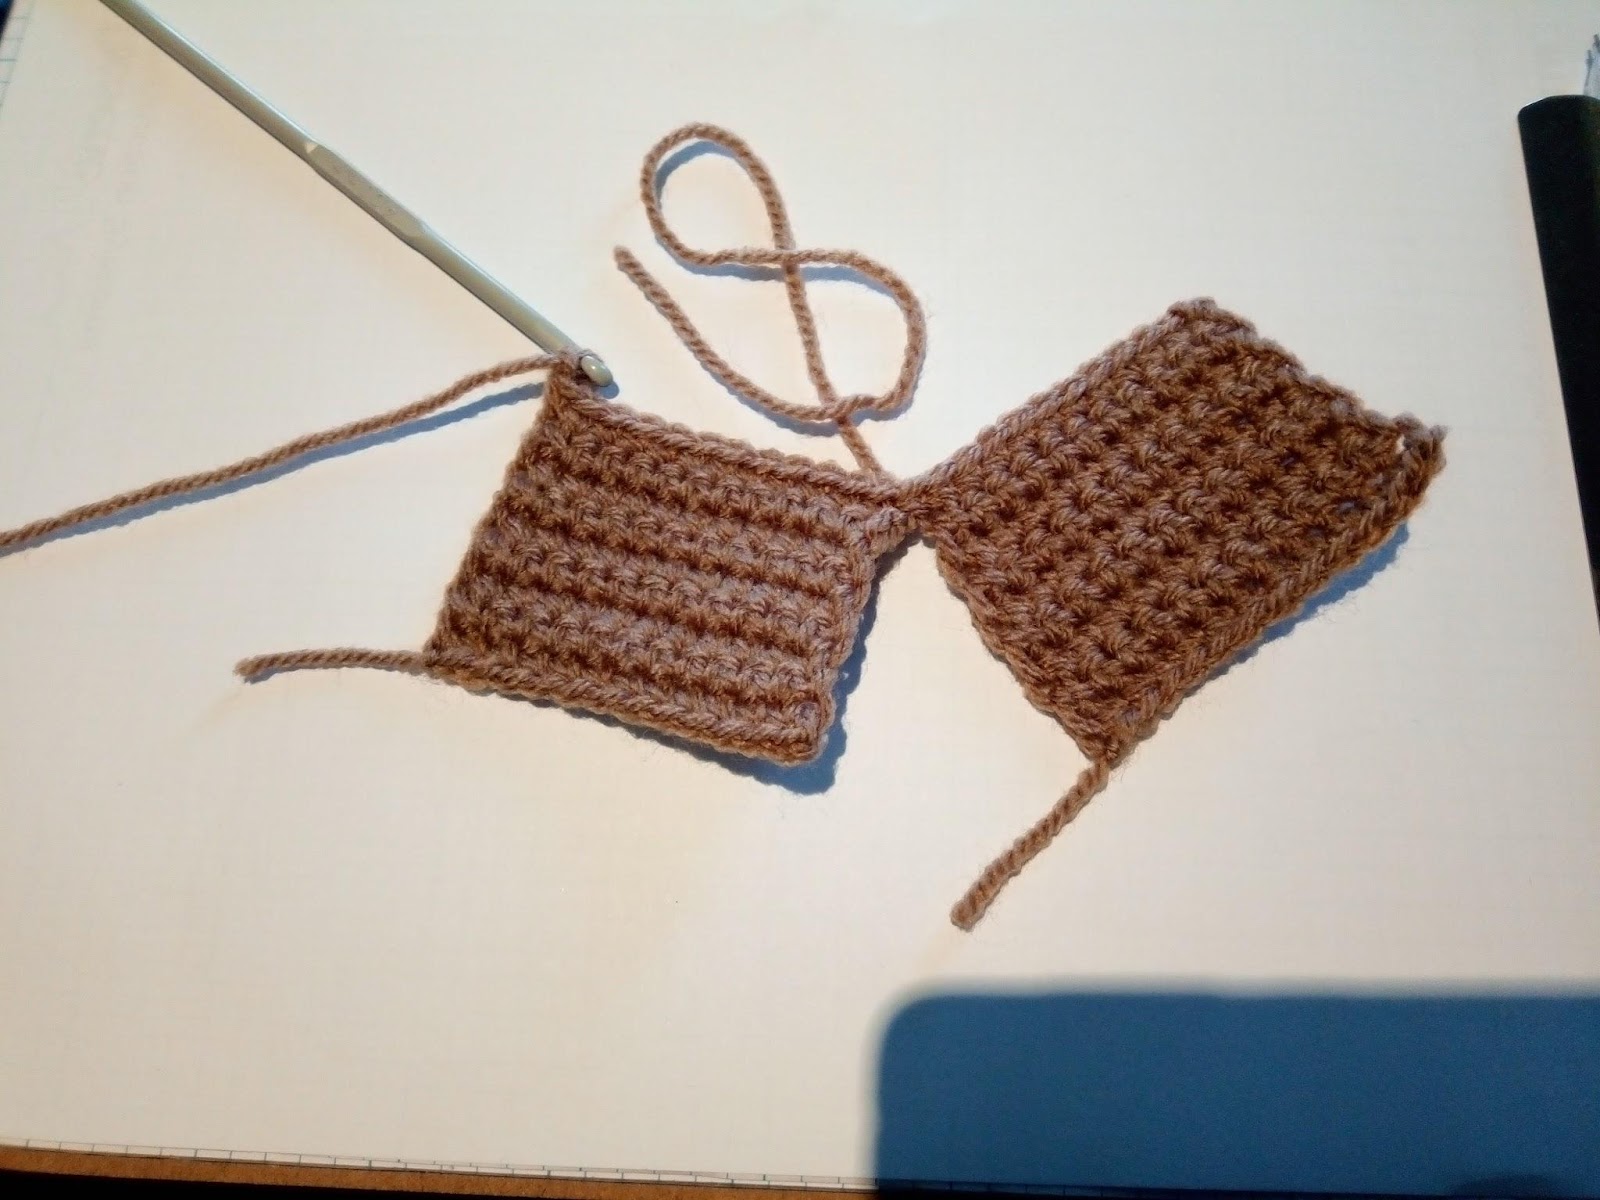
Row 9) Work across both pieces = 24sc
Row 10-17) work 24st, straight.
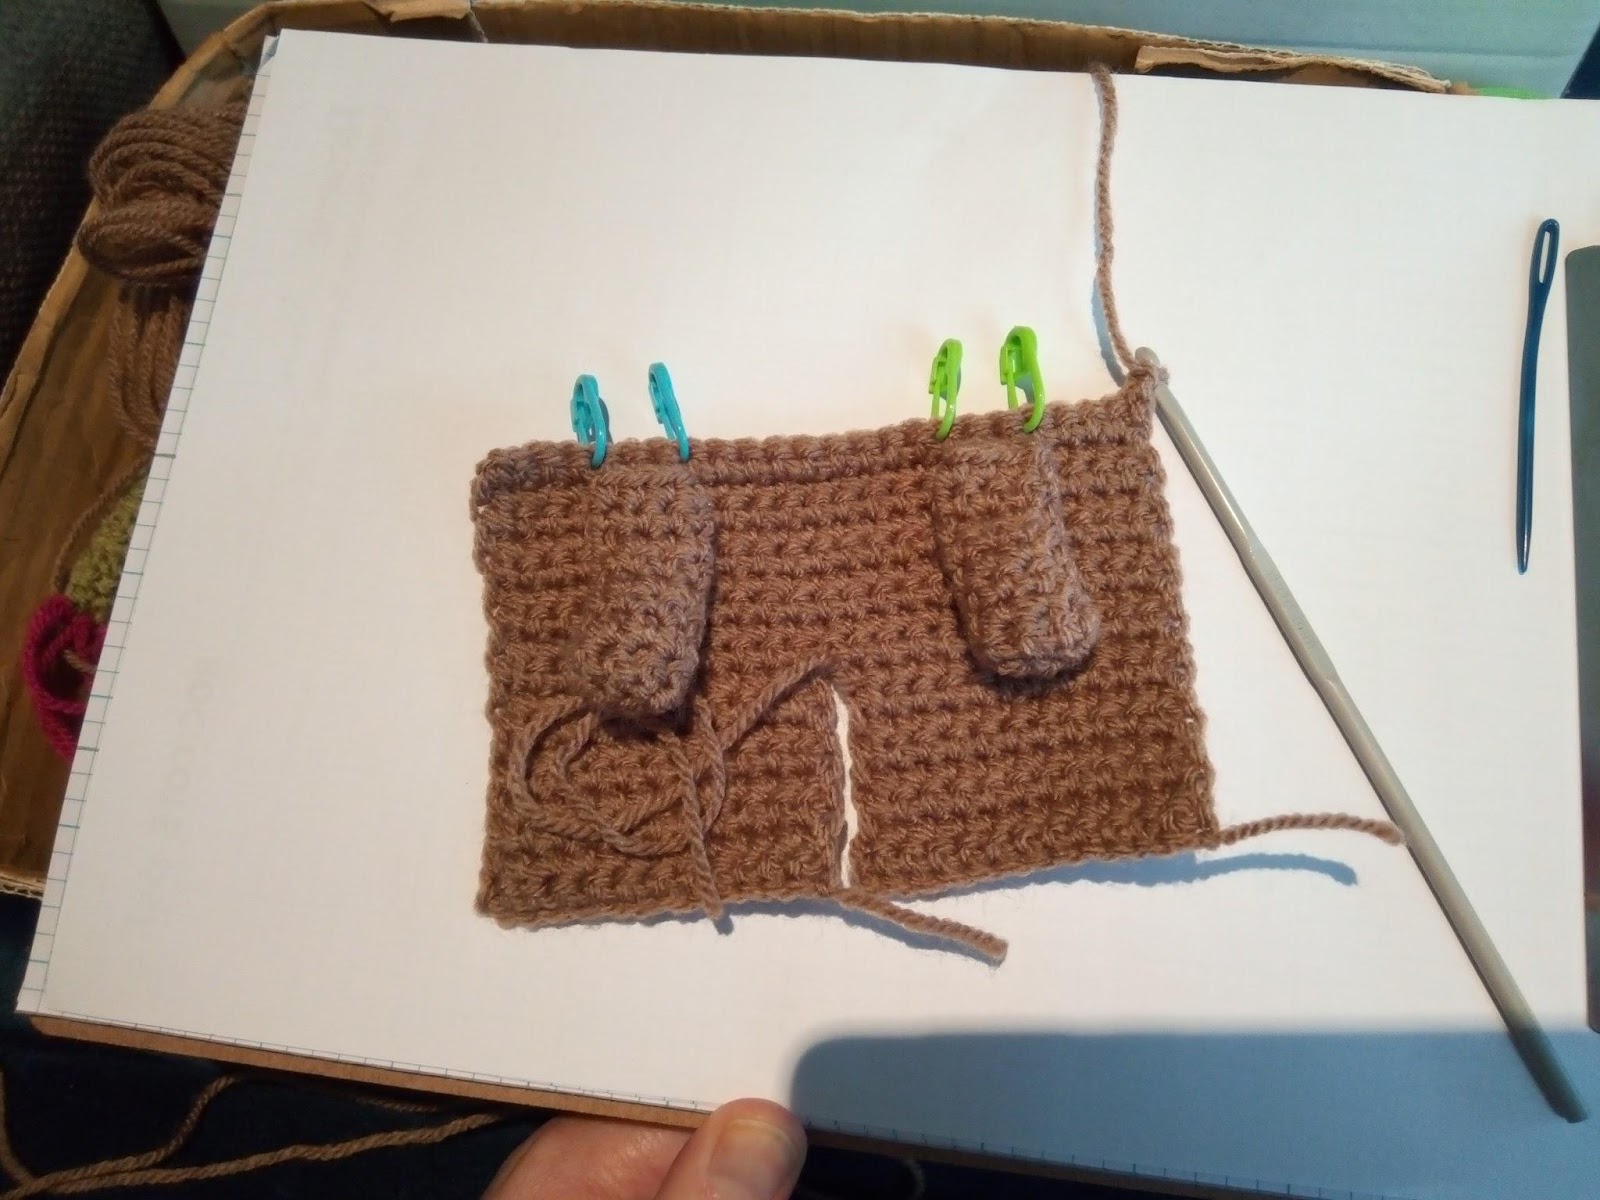
Row 18) include the arms row. Stitch markers indicate the stitches that will be used with the arms just sitting there to show you where they will go.
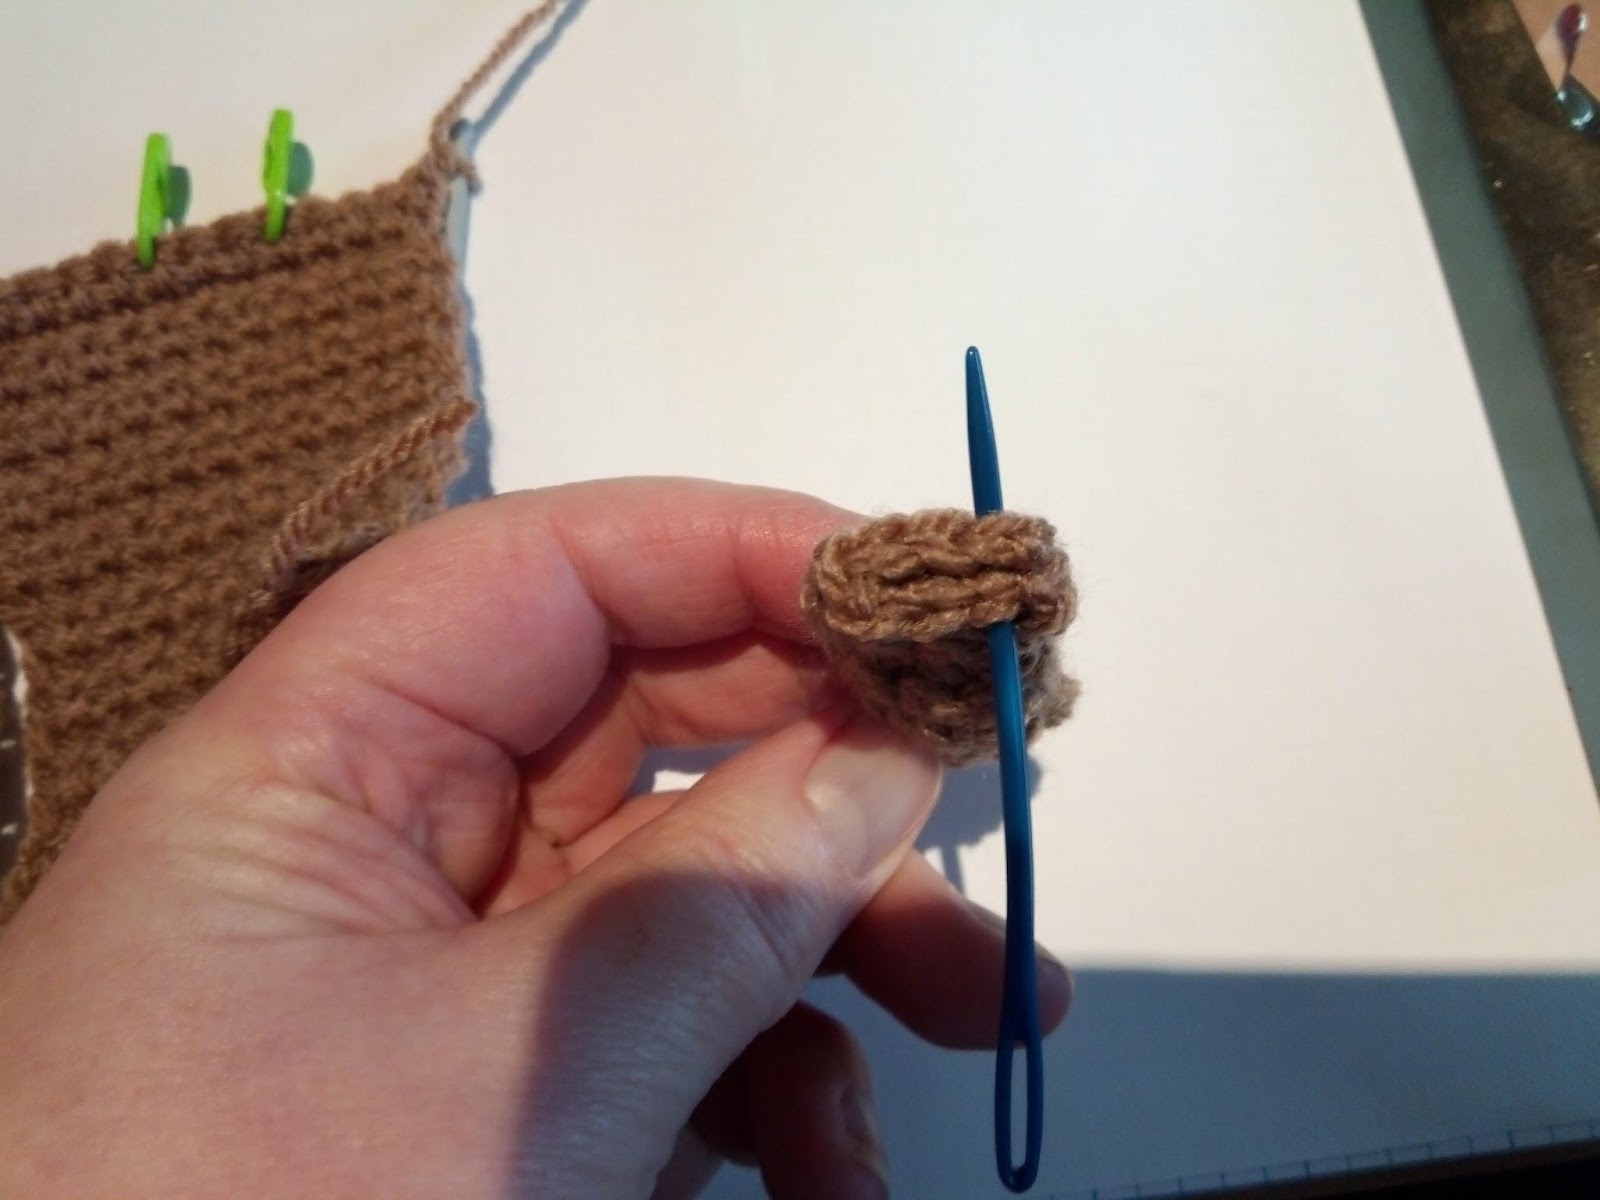
Row 18) ch1, sc3, then insert the hook through the arm first (shown with my blue needle here) then through stitch number 5 (first green marker) and complete that sc. Do 3 more times to finish that arm. Sc the 8 in between markers and repeat the arm attachment procedure over the next 4 stitches. And then it’s just the 4 sc to finish the row.
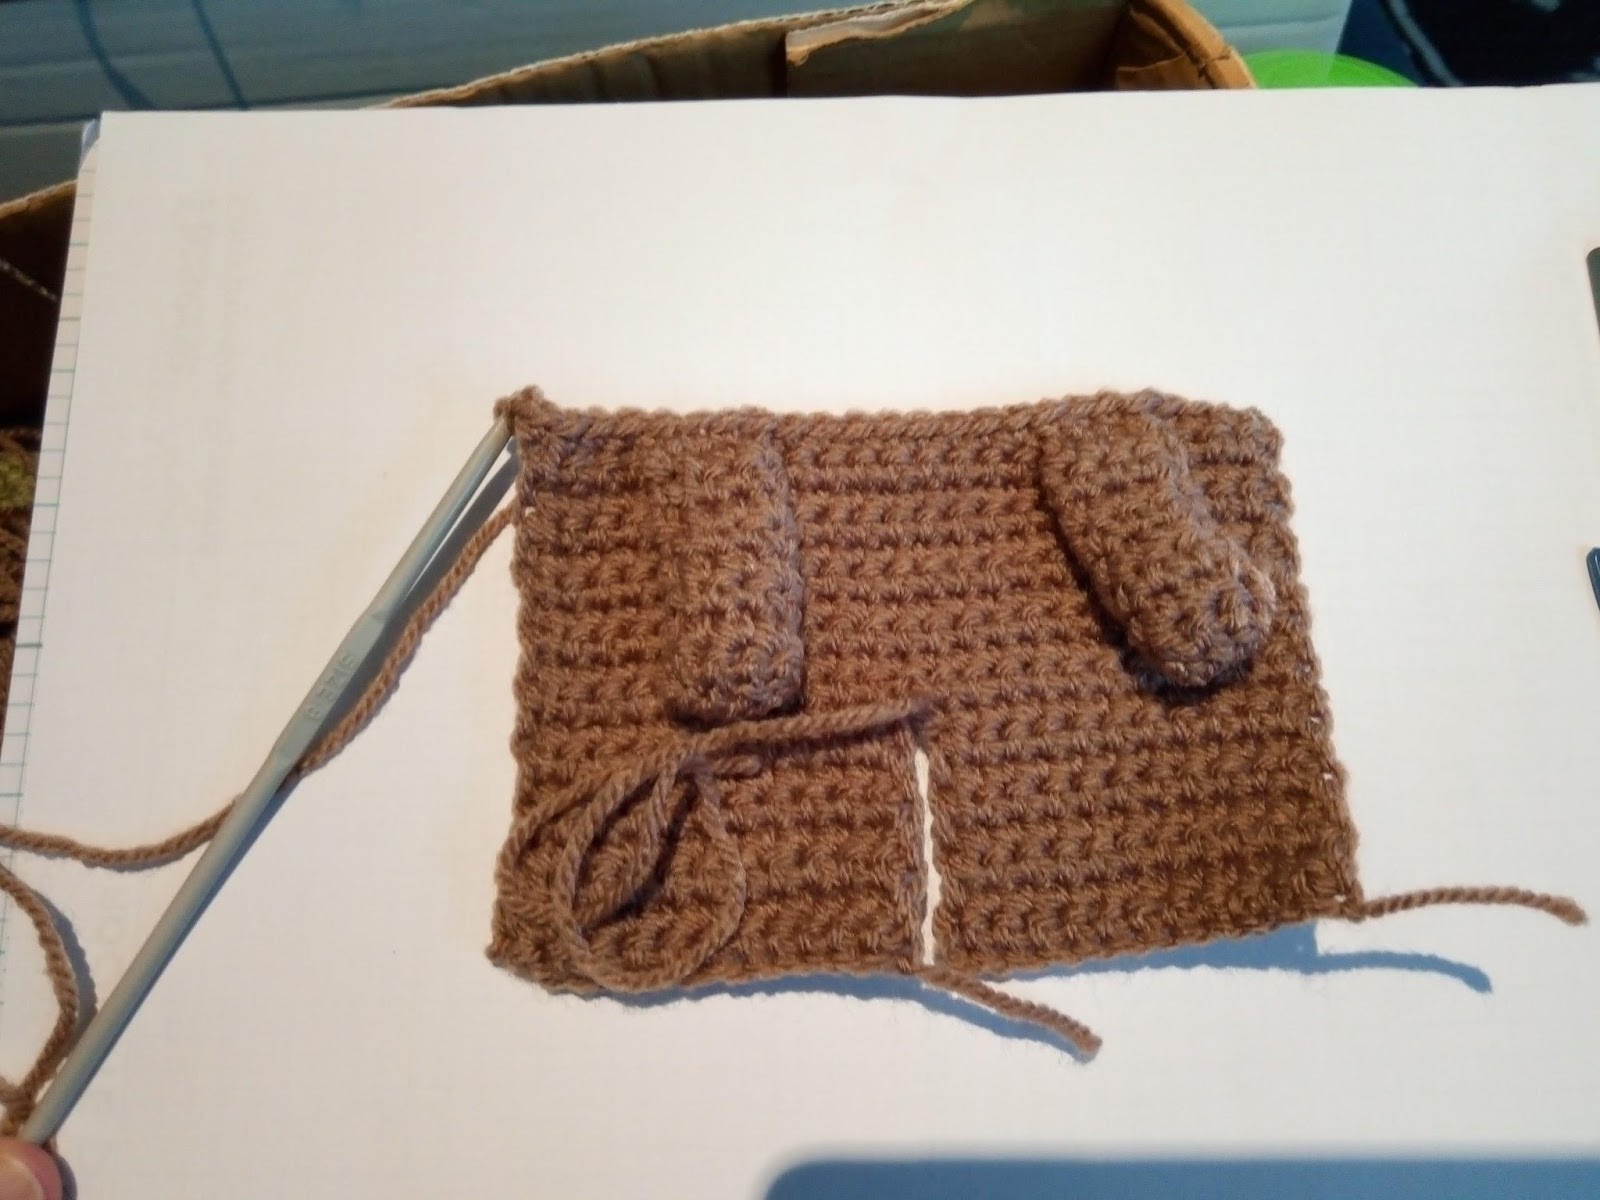
Row 18 done.

Close up of arm bit.
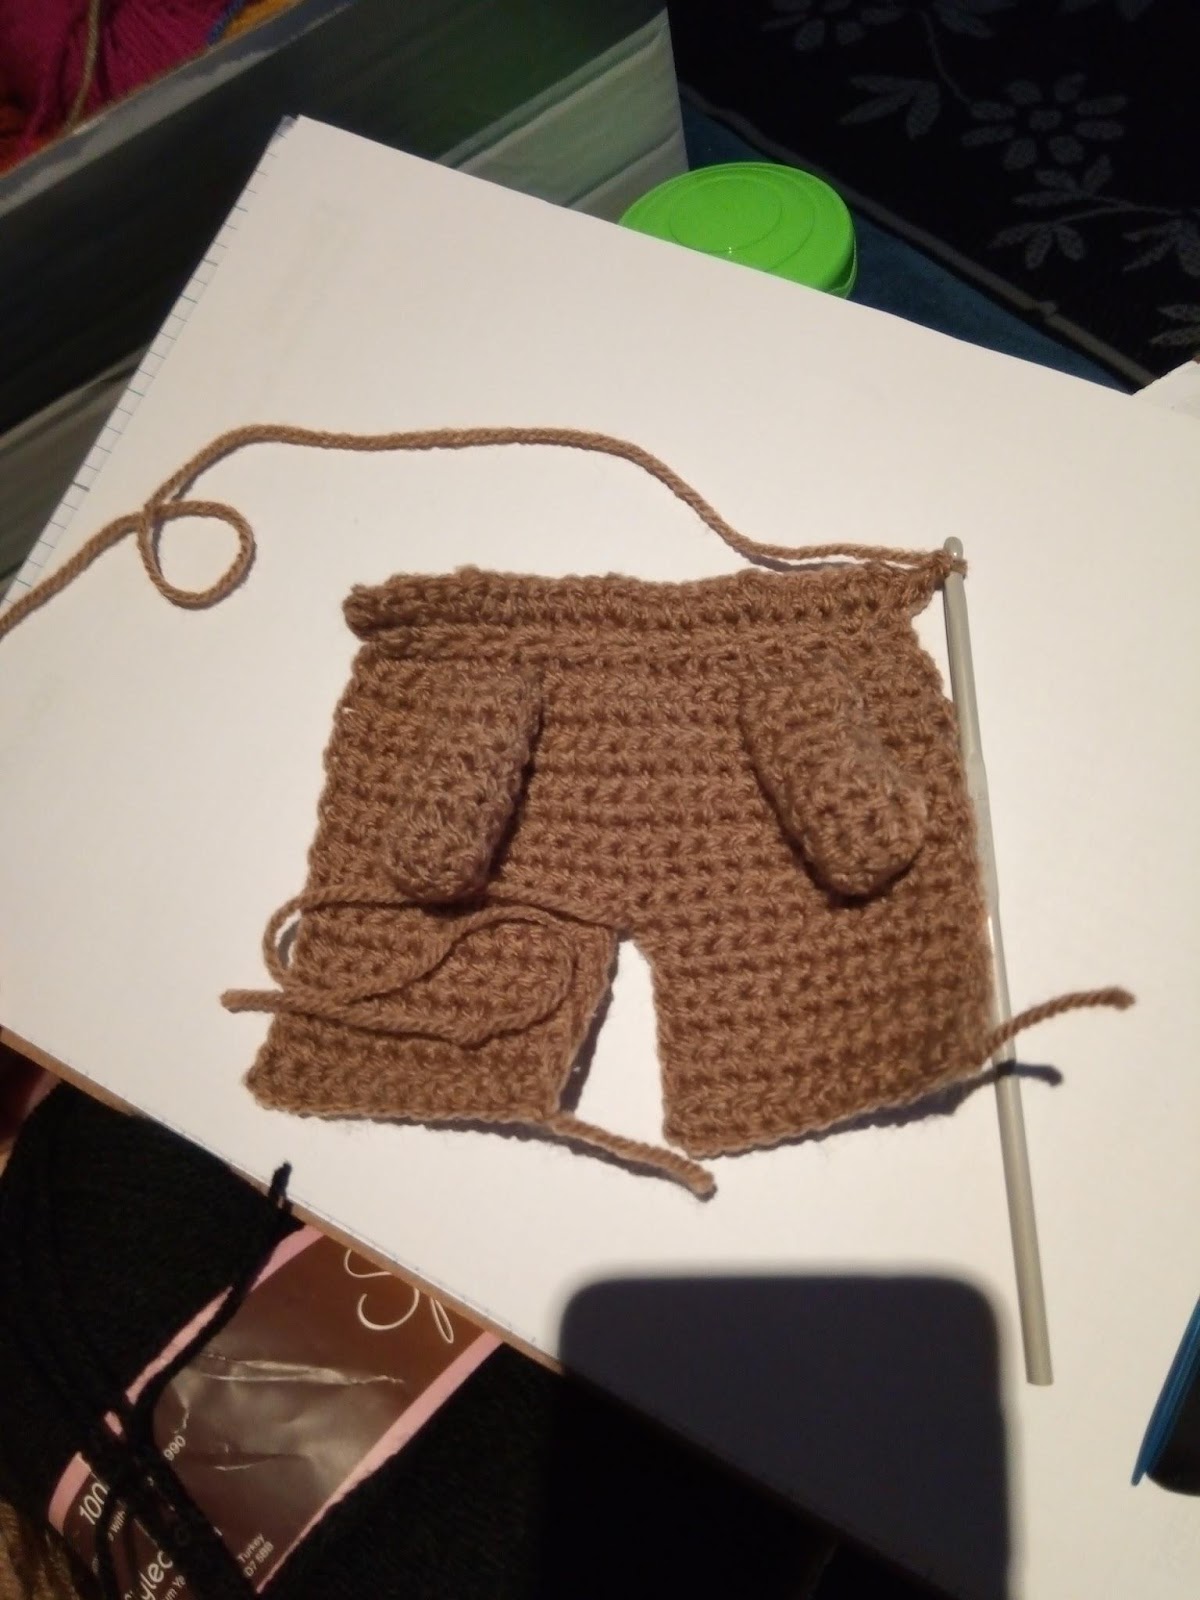
Row 19 & 20. Close up of the decrease for the neck followed by the increase back to where you were.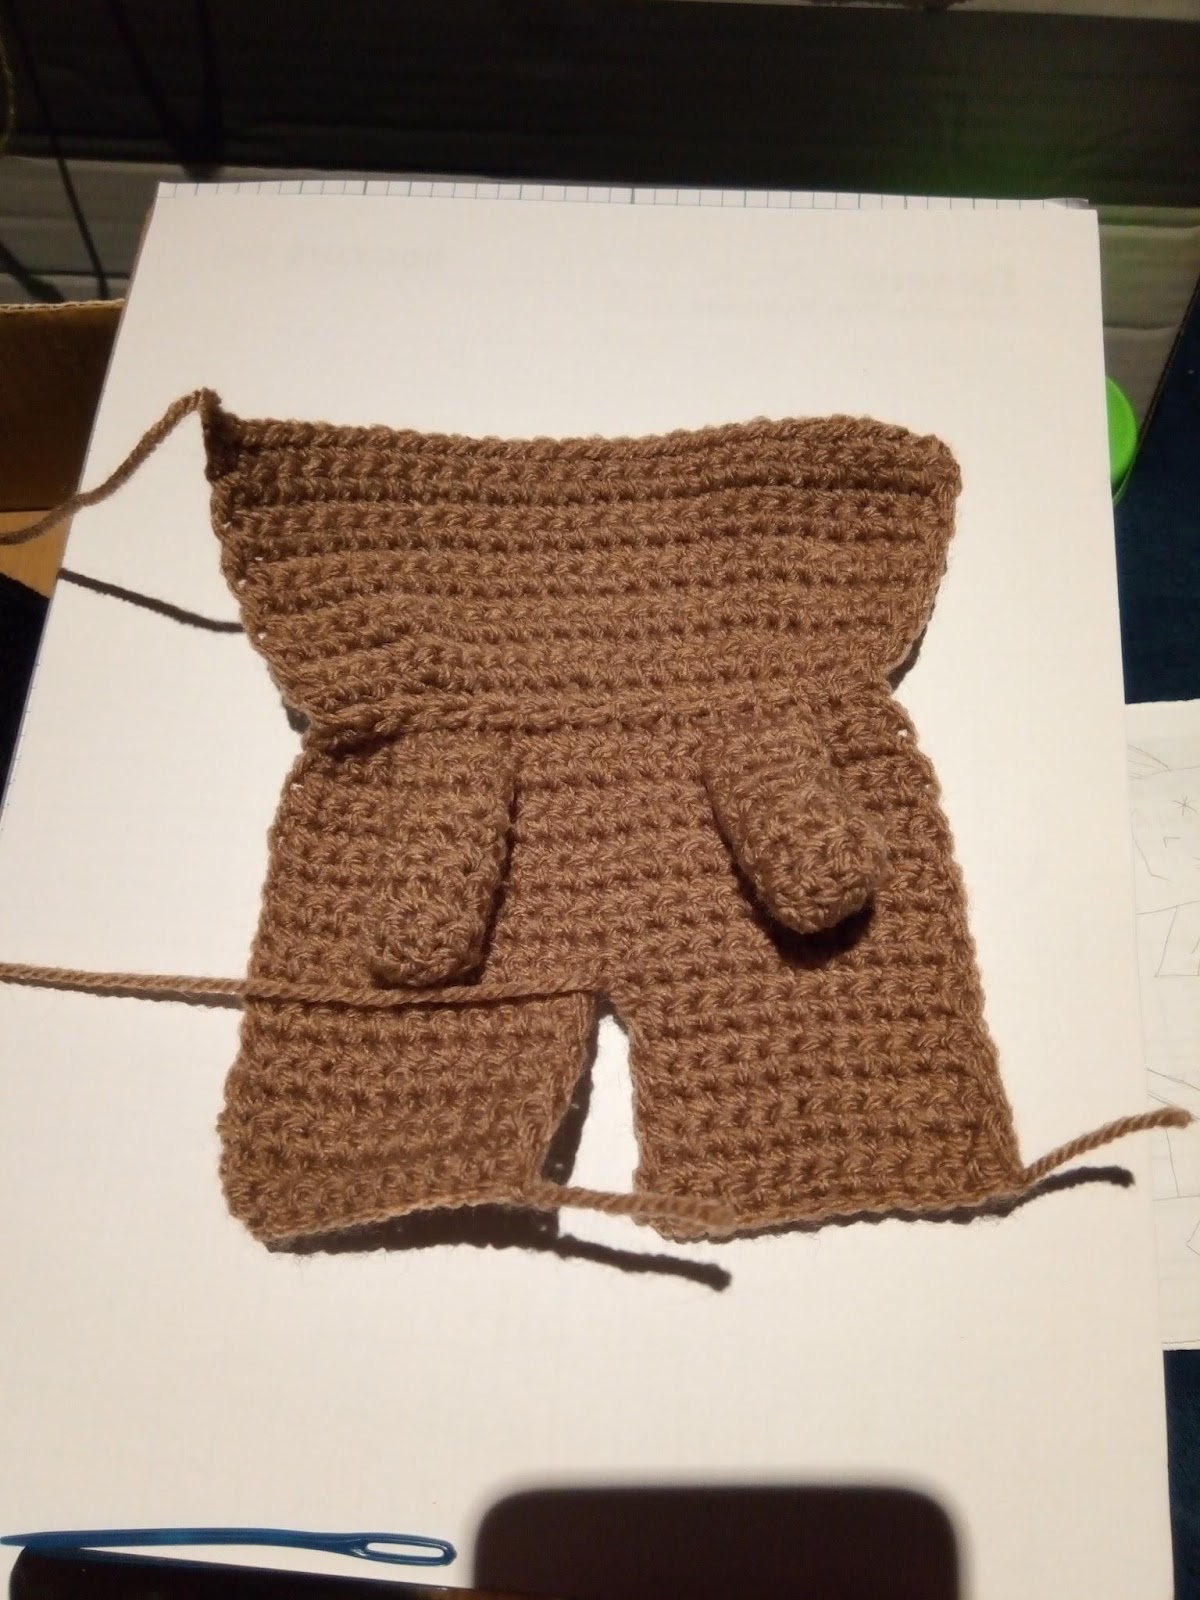
This pulls the neck in nicely without having to throttle the poor wee thing!
Then just finish up the head rows working straight again …
And now the crocheting is done! Doesn't look much..

Fold it in half and it looks a bit like a doll.
Now for the sewing up.
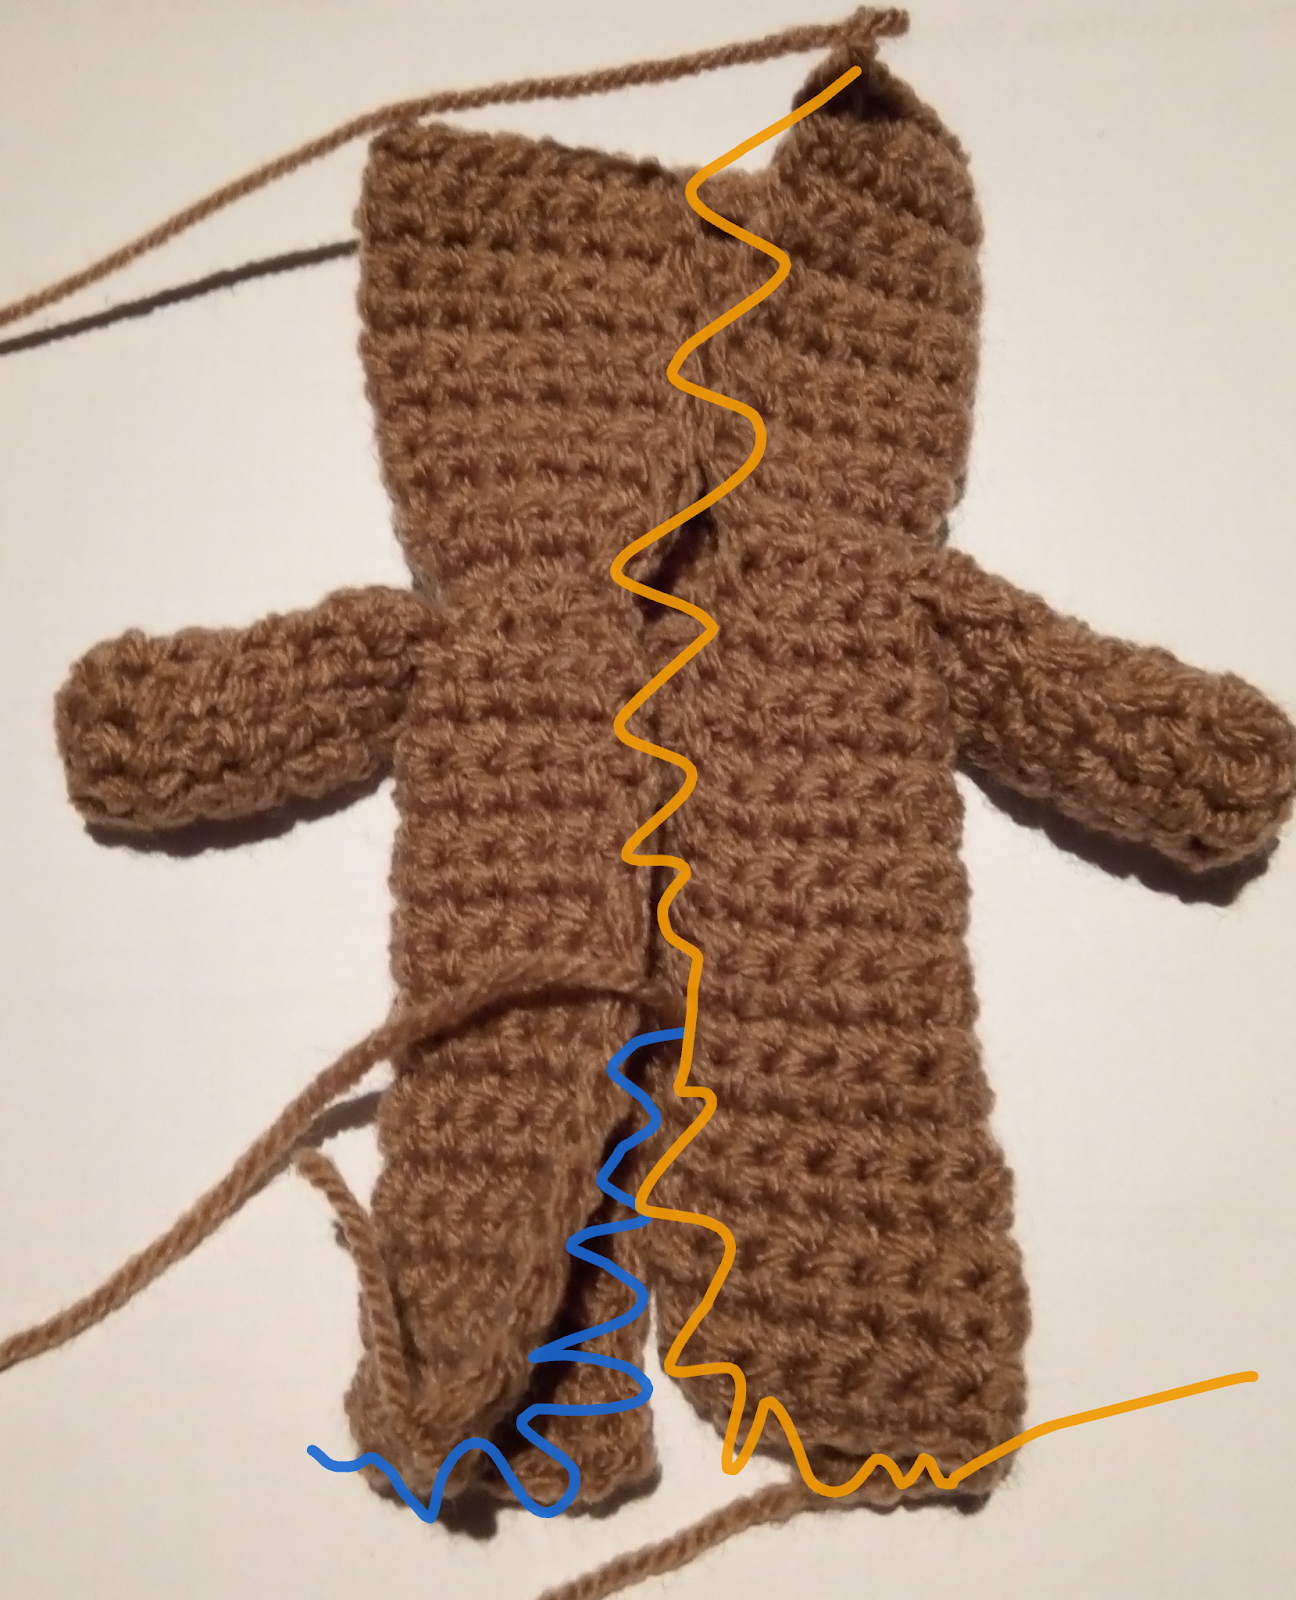
If you do the one leg first (blue squiggle) then it’s easier to
see where the centre back becomes the second leg.
Yellow squiggle is the second line of sewing.
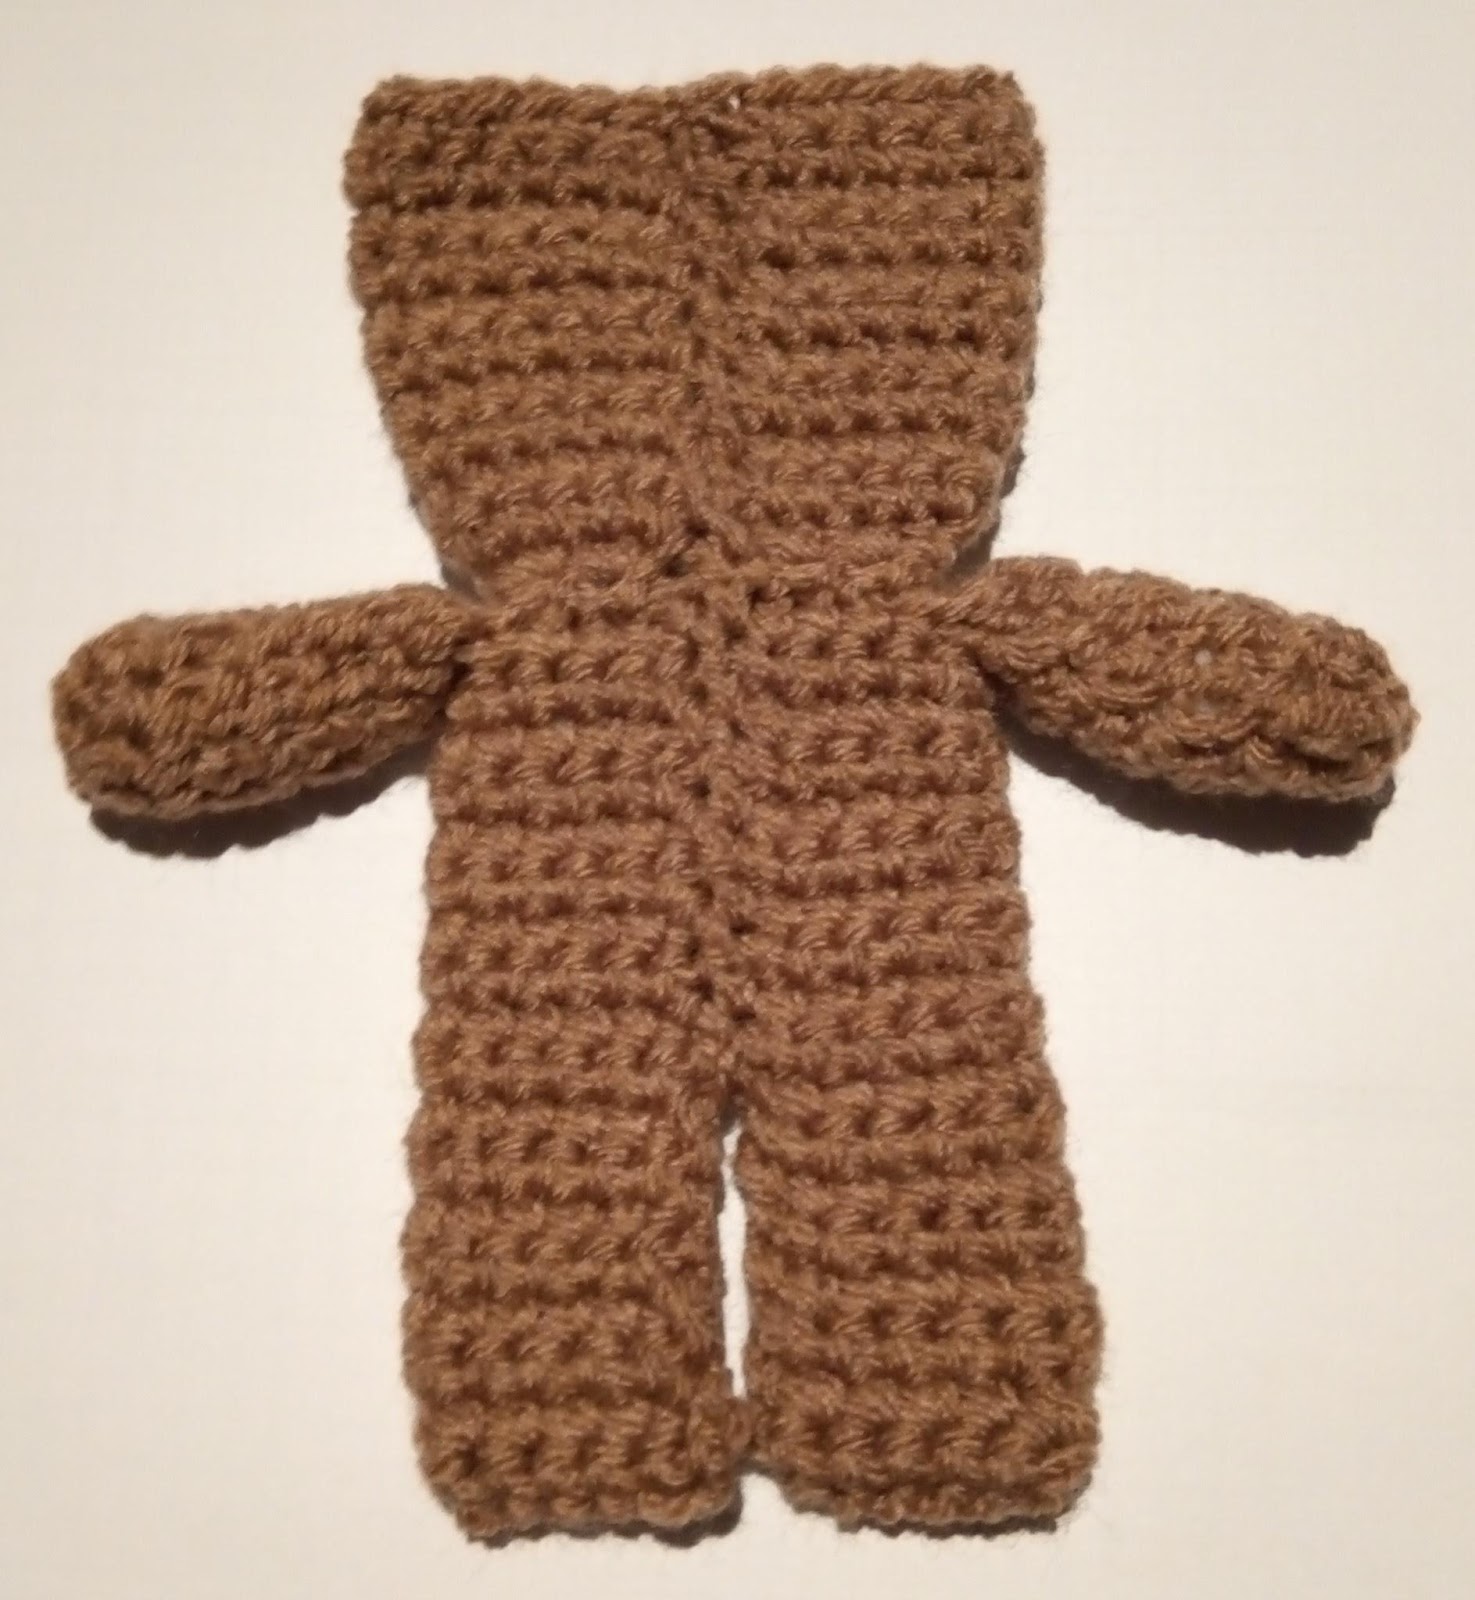
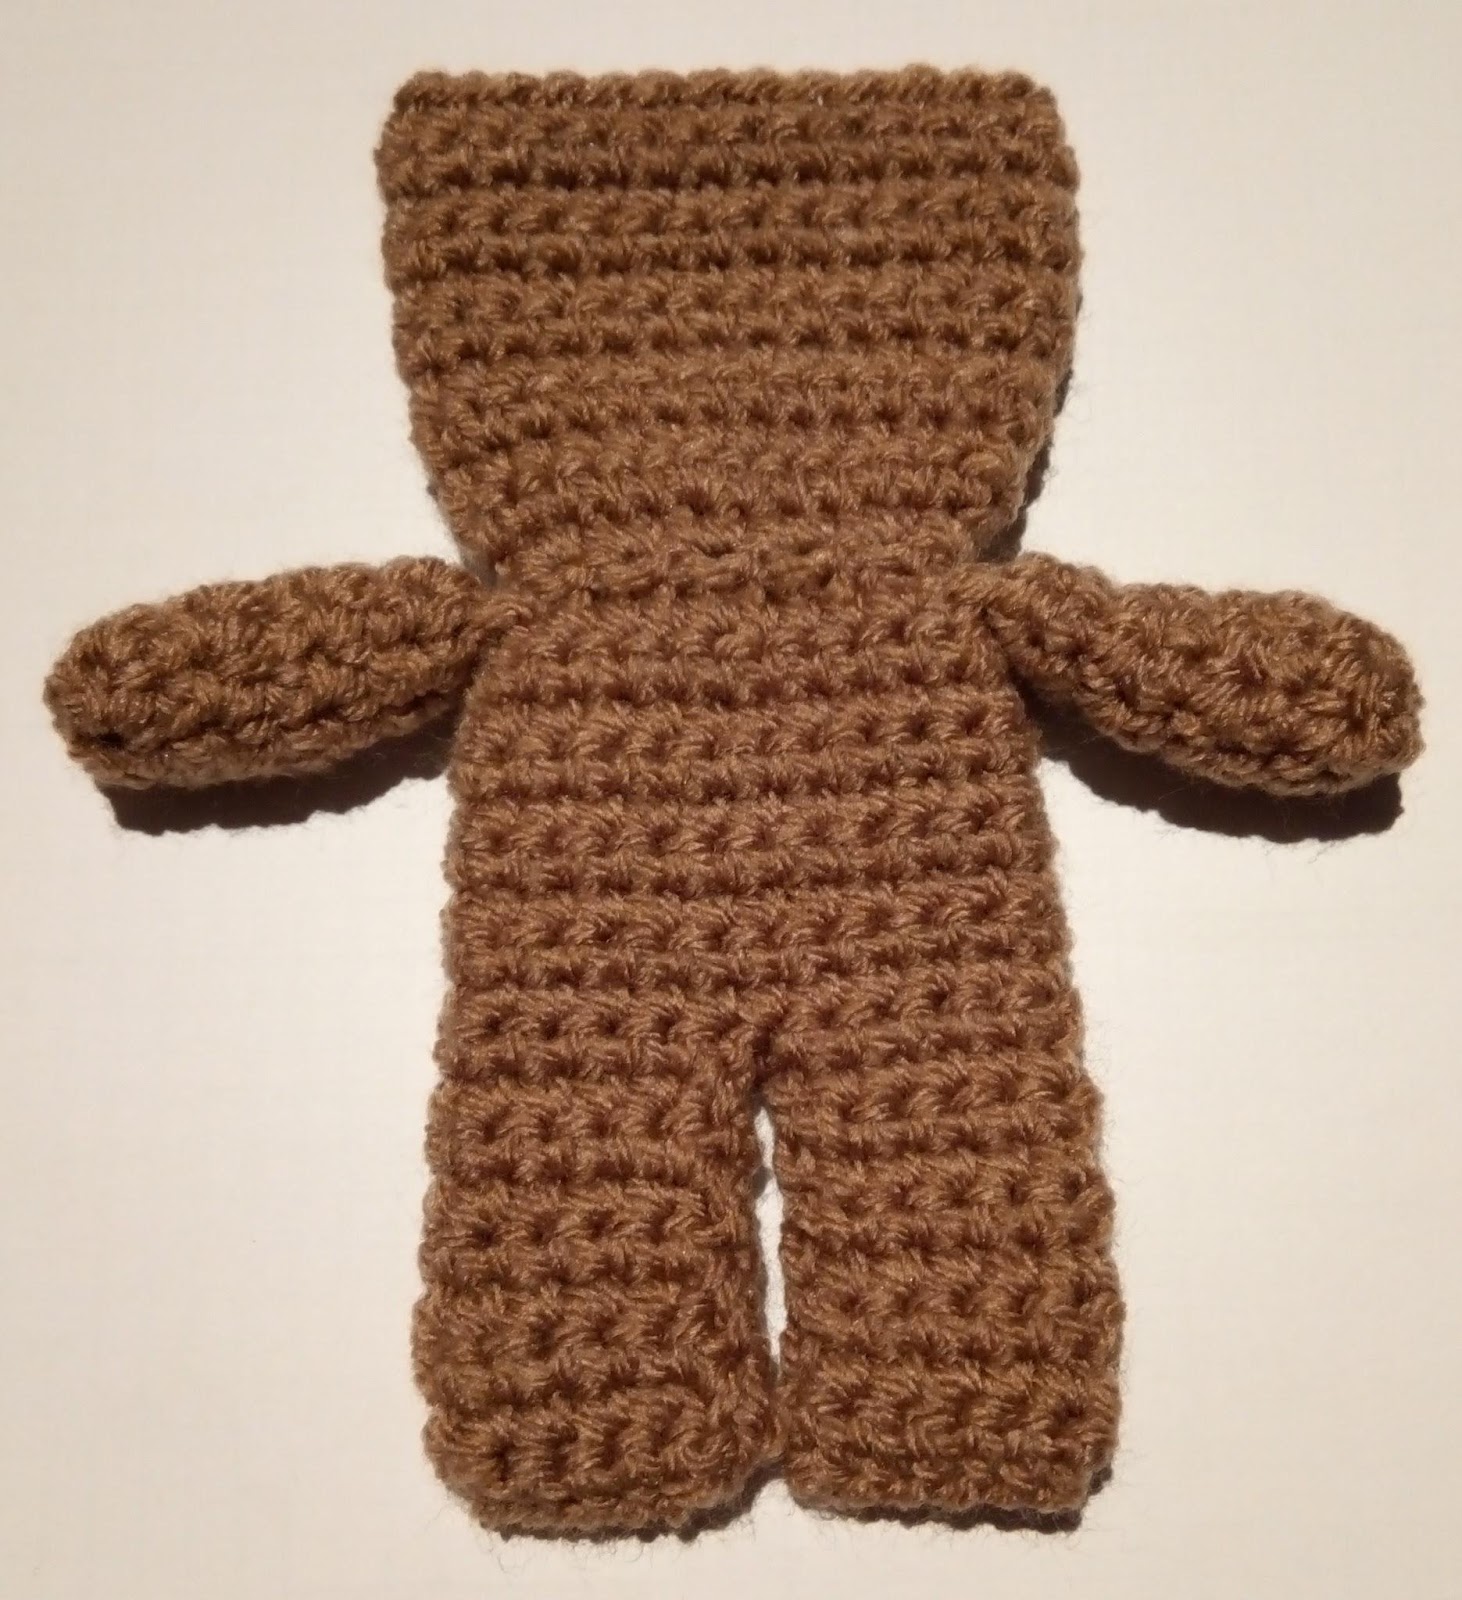
Back and Front.
All sewed up and looking more like a doll!
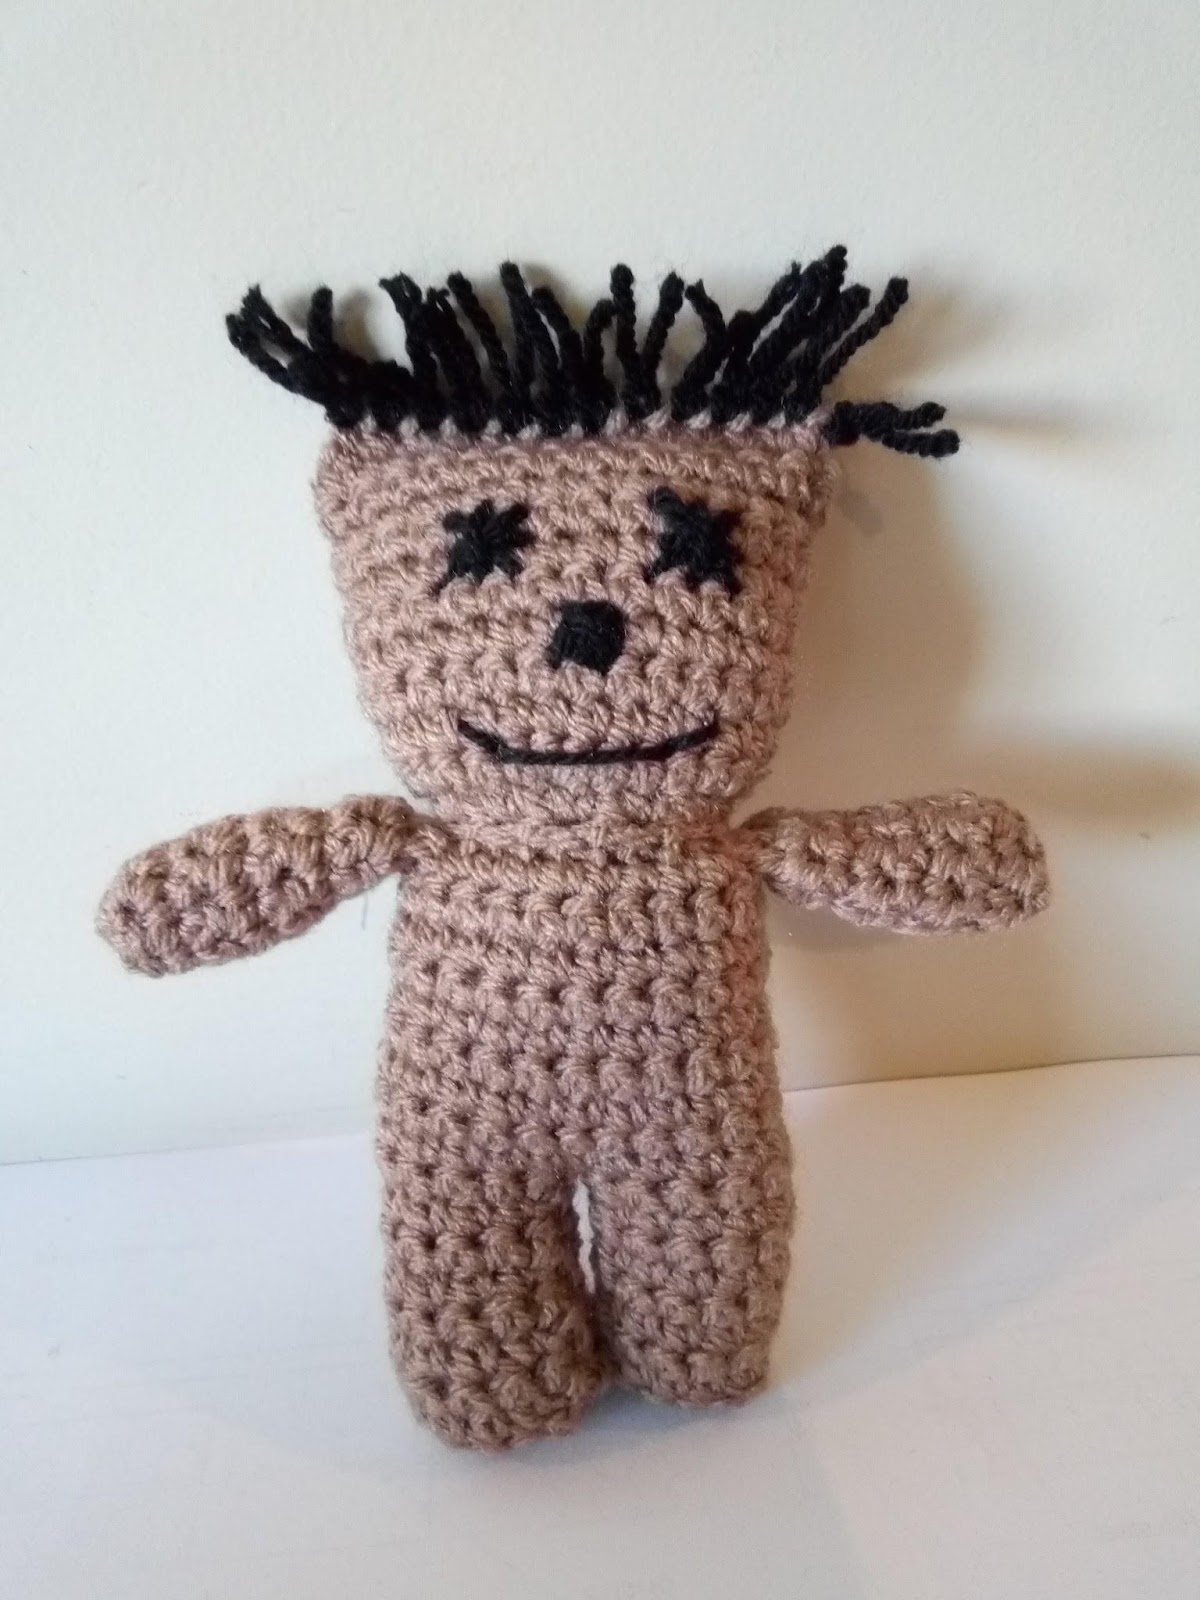

I find it easiest to do the face now.
Although I’m really not very good at faces!
Stuff, then complete row 31 to close. Add some hair if you want and DONE.
Charts
These are useful if you want to work out a particular colour scheme.
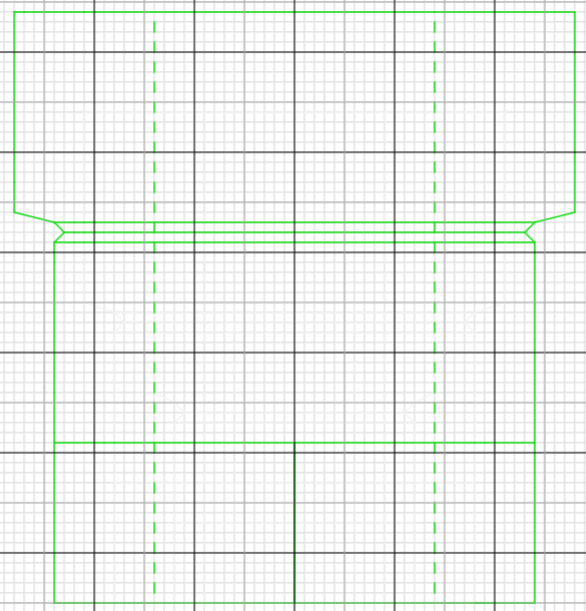
1 square = 1 stitch/row. Dashed line is the fold line